


 简体中文
简体中文 English
 русский
 عربى
عربى Español
Ceramic tile grout fails for a reason that surprises most installers: the failure rarely starts at the joint surface. It starts with the way the grout dries. When a cement-based grout loses water too quickly, the cement never fully hydrates, and the joint turns chalky, crumbly, and prone to cracking. From bathroom walls to hotel lobbies, premature water loss is a silent cause behind the most common grout failures.
That is why the grout conversation has moved beyond color matching and joint widths. The decisive factor in modern grout performance is the additive pack, and at the center of it are cellulose ethers such as HEMC and HPMC.
Content
- 1 What a Ceramic Tile Grout Joint Must Withstand
- 2 Sanded, Unsanded, Epoxy, or Polymer-Modified: Which Grout Fits?
- 3 Why Cellulose Ethers Determine Grout Performance
- 4 Common Grout Problems and What They Actually Mean
- 5 Ceramic Tile Grout FAQ
- 5.1 Q1: What is the best ceramic tile grout?
- 5.2 Q2: How long after tiling do you apply grout?
- 5.3 Q3: What causes ceramic tile grout to crack?
- 5.4 Q4: Can you recolor ceramic tile grout instead of replacing it?
- 5.5 Q5: Does ceramic tile grout need sealing?
- 5.6 Q6: How do you remove grout haze from ceramic tile?
What a Ceramic Tile Grout Joint Must Withstand
A grout joint is the most stressed part of a tiled surface. It is a working joint: it absorbs thermal expansion during temperature swings, carries foot traffic, resists alkaline cleaners and acidic kitchen spills, and stops moisture from migrating into the tile bed.
At minimum, ceramic tile grout must:
- bond firmly to the porous edges of both adjacent tiles once the adhesive bed has cured;
- stay in the joint without slumping while being tooled, even on vertical surfaces;
- hold the mixing water long enough for the cement to hydrate completely, regardless of tile porosity;
- tolerate minor substrate movement without developing hairline cracks.
Standardization reflects this. Under ISO 13007-3, cementitious grouts are divided into CG1 (standard) and CG2 (improved). A CG2 product must show substantially higher flexural and compressive strength and clearly lower water absorption than a CG1 product. In practice, reaching CG2 performance requires polymer modification plus controlled water retention. That is exactly what grout joint filler additives based on cellulose ethers bring to a dry-mix formula.
Sanded, Unsanded, Epoxy, or Polymer-Modified: Which Grout Fits?
Choosing the right grout starts with joint geometry and the exposure the floor or wall will face. The table below summarizes the mainstream options used for ceramic tile.
| Grout type | Typical joint width | Key strengths | Main drawback |
|---|---|---|---|
| Unsanded cement grout | Up to 3 mm | Smooth finish, low cost, easy application in narrow joints | Higher shrinkage and lower stain resistance in wide joints |
| Sanded cement grout | 3 to 12 mm | Higher strength, lower shrinkage, good for floors | Coarse texture can scratch polished tiles |
| Polymer-modified cement grout (CG2) | 3 to 15 mm | Improved flexural strength, water resistance, and bond | Higher material cost than standard cement grout |
| Epoxy grout | 1 to 12 mm | Stain-proof, chemical-resistant, nonporous | Expensive, stiffer to apply, short working time |
Practical guidance for ceramic tile:
- joints up to 3 mm: unsanded cement grout gives the smoothest, cleanest finish;
- joints from 3 to 12 mm: sanded cement grout adds strength and resists shrinkage;
- joints wider than 10 mm or exposed to acids and grease: epoxy grout justifies its higher price;
- joints where crack resistance and water resistance matter most: polymer-modified cement grout (CG2) is the balanced choice.
For most ceramic tile floors and bathroom walls, CG2 polymer-modified grout offers the best compromise: better adhesion, fewer voids, and longer-lasting color. The polymer fraction is usually a redispersible polymer powder or a latex; the part that controls open time, smooth spreading, and sag resistance is the cellulose ether, typically hydroxypropyl methylcellulose (HPMC).
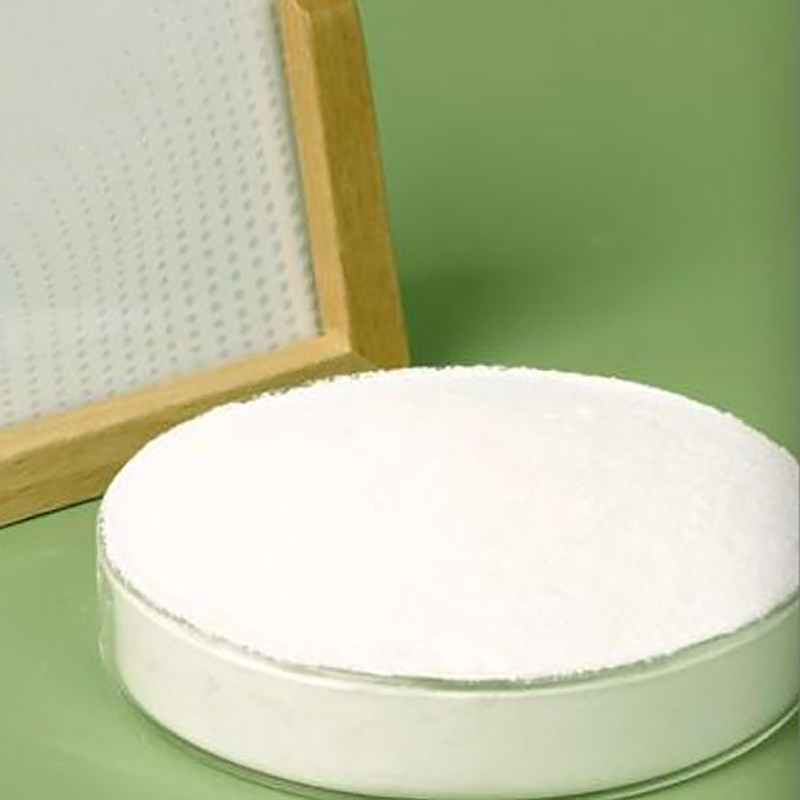
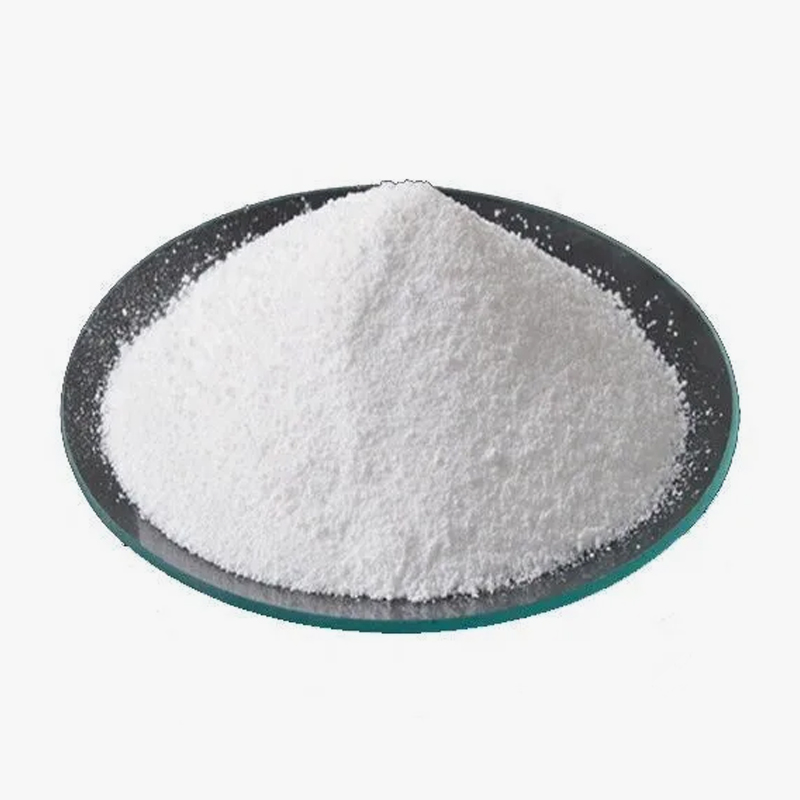 EASONZELL MP Series Architectural Grade HPMC for Cement-Based GroutsThis architectural-grade hydroxypropyl methylcellulose is designed for cement-based dry mixes, offering water retention and extended open time. It suits CG2 polymer-modified grout formulations where sag resistance and smooth spreading are critical for ceramic tile and bathroom wall applications.View Product →
An architectural-grade HPMC such as the EASONZELL MP series is designed for exactly these cement-based dry mixes and is typically dosed between 0.2 and 1.0 percent by weight of the powder.
Why Cellulose Ethers Determine Grout Performance
Almost every dry-mix ceramic tile grout manufactured today contains a cellulose ether, even when the label does not say so. The reason is simple: the joint must deliver water to the cement at the right rate, and only water-retention chemistry can control that rate.
In a typical installation, the tile edges absorb water from the fresh grout, the backer board pulls moisture from below, and evaporation takes water from the surface. Without a water-retention agent, the mix can lose a substantial share of its mixing water within the first minutes on dry or porous tile. The consequence is under-hydrated cement: low strength, dusting, and shrinkage cracks.
HEMC and HPMC improve the system in three ways:
- Water retention: the cellulose ether slows water migration, keeping the water available for full hydration. Manufacturer tests on the EASONZELL ME series of HEMC show up to 50 percent higher water retention in cementitious mixes compared with an unmodified formulation.
- Viscosity control: the ether thickens the fresh grout to a buttery, non-slumping consistency that tools cleanly.
- Open time: slower surface drying leaves more time to compact and sponge the joint, which sharply reduces rework.
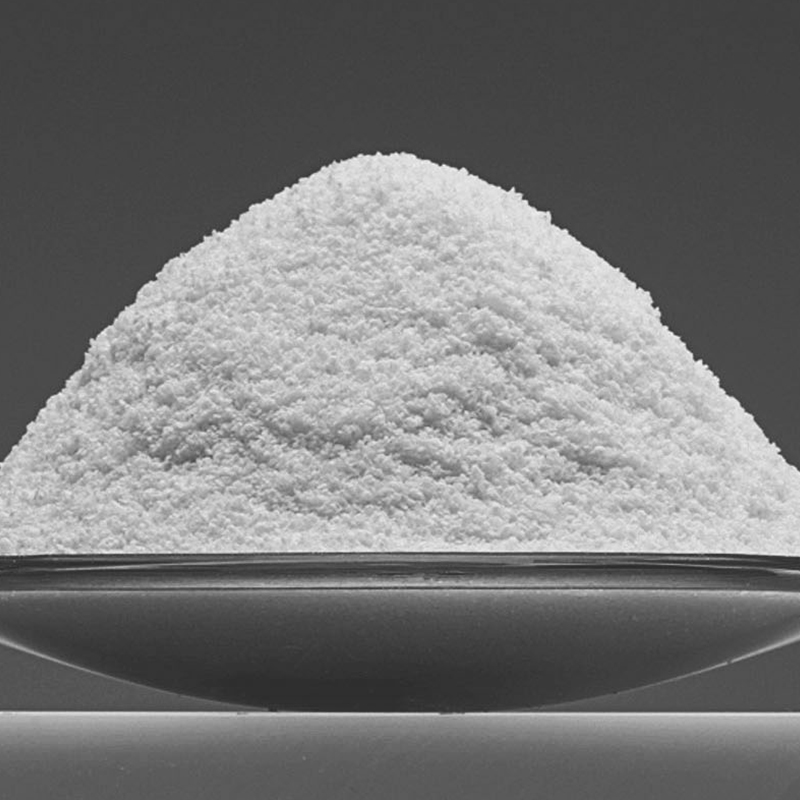 EASONZELL ME Series Building Material Grade HEMC for Grout PowdersThis hydroxyethyl methyl cellulose grade prioritizes water retention in cement grout powders. As a nonionic ether, it remains stable in alkaline cement environments, helping manufacturers achieve consistent batch performance across varying seasonal jobsite conditions without site-added polymers.View Product →
Because the cellulose ether is milled into the dry powder during manufacturing, a single-component grout only needs clean water on site, no site-added polymers and no guesswork. HEMC (hydroxyethyl methyl cellulose) and HPMC (hydroxypropyl methyl cellulose) are the two most common cellulose ethers in grout powders. Both are nonionic, which makes them stable in the alkaline environment of a fresh cement mix. HEMC is generally preferred when water retention is the top priority; HPMC is chosen when formulation balance between thickening and gel behavior matters more. For a grout manufacturer, the choice determines how consistently the powder performs from batch to batch and from summer to winter jobsite conditions.
For the installer, this chemistry is invisible until something goes wrong: a dusty surface, a crack that opens within weeks, grout that crumbles under a fingertip. Most of these field failures trace back to water retention in the original formula. Specifying a grout built on quality cellulose ether chemistry is the most reliable way to prevent them.
Common Grout Problems and What They Actually Mean
Grout fails in predictable patterns. Recognizing the symptom points directly to the cause.
- Chalky surface or dusting: the cement never fully hydrated, either because the mix dried too fast or because it was overworked with a wet sponge.
- Hairline cracks along the joint: shrinkage caused by excess mix water, or an unsanded grout used in a joint wider than 3 mm.
- Crumbling edges: extra water added on site to soften the grout, which dilutes the binder and weakens the matrix.
- White efflorescence: soluble salts carried to the surface by slow evaporation, a sign that moisture traveled through the joint.
- Dark mildew spots: porous, unsealed cement grout in wet areas, indicating insufficient density and water resistance.
When a manufacturer controls viscosity and water retention with a consistent cellulose ether, the joint stays dense, the cement hydrates fully, and the surface is easier to seal and keep clean. Joint width also matters: the chart below shows typical recommendations for each grout family.
Whatever the grout type, sequence matters too. Grout goes in only after the tile adhesive has cured, normally 18 to 24 hours for cement-based tile adhesive additives. Grouting earlier can shift tiles and leave weak bonds that show up as cracked joints during the first year.
Ceramic Tile Grout FAQ
Q1: What is the best ceramic tile grout?
For most indoor ceramic walls with joints under 3 mm, a polymer-modified unsanded grout offers the best balance of smooth finish and strength. For floors and wider joints, choose sanded or CG2 polymer-modified grout. Use epoxy only where stain or chemical resistance is critical.
Q2: How long after tiling do you apply grout?
Wait at least 24 hours after tiling for standard cement-based tile adhesives to cure. Large-format or porcelain tile may need 48 hours. Grouting too early can displace tiles and cause bond failures later.
Q3: What causes ceramic tile grout to crack?
Cracks usually come from using unsanded grout in joints wider than 3 mm, adding too much water to the mix, or grouting before the adhesive has set. Substrate movement and thermal shock are secondary causes.
Q4: Can you recolor ceramic tile grout instead of replacing it?
Yes. If the existing grout is sound, a cement-based grout colorant or a thin fresh coat of grout can restore the joint color. Clean, etch, and dry the joints thoroughly before recoating.
Q5: Does ceramic tile grout need sealing?
Cement-based grout is porous and should be sealed after it is fully cured, usually about 7 days after installation. Epoxy grout does not require sealing.
Q6: How do you remove grout haze from ceramic tile?
Wipe the surface with a clean microfiber cloth, then rinse with a damp sponge. If haze remains after 24 to 48 hours, use a grout haze remover that is safe for your tile type and follow the timing instructions exactly.


 Email: sarah@ys-cellulose.com
 Phone: +86-18067879812 / +86-575-82966958


